The aim of this Dirt Bike Riding Tips post is to help you continually improve your riding technique so that you keep getting better each time you go out.
Set yourself small targets each time, one technique at a time. Focus on a particular technique and attempt to master it. It’s a continuing process.
Whether you’re a serious racer or a weekend enthusiast, it’s good to get back to the basics every once in a while.
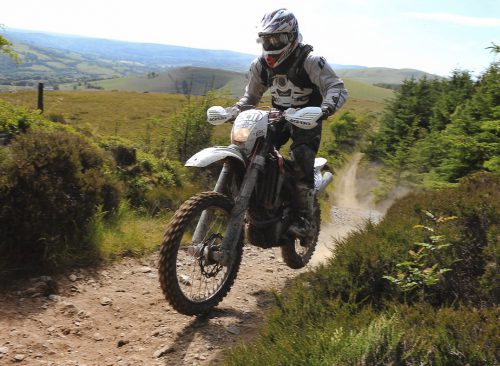
Body Weight Distribution:
Whether you’re a featherweight or a heavyweight, you are the largest single object on your bike, so your positioning is vital. The major manufacturers are trying to lower the center of gravity of the bike by lowering major weight-bearing items such as fuel the tank and motor.
To help to lower the center of gravity of the bike, try standing as much as possible. This places your weight on the footpegs, rather than on the seat, the top of the bike, which in effect lowers the bike’s center of gravity.
Always keep your knees slightly bent, so you can absorb the bumps of the trails through your legs, as well as the bike’s suspension.
Grip the bike firmly between your knees to help keep the bike tracking straight, and to take the pressure off your forearms.
Your knees should be around the seat-tank junction to centralize your weight on the bike.
Sitting down on the bike makes your bike absorb all of the bumps through the suspension, and transfers that impact directly to your spine, which puts you in the position of being shaken around harshly, or even being catapulted over the bars if you hit a big bump.
Riding In Ruts:
Ruts are one of the most feared obstacles we have to deal with on a dirt bike. Some riders go well out of their way to avoid using ruts, but using the following techniques will help you deal with them.
Steady as she goes. You’re better off taking a little time coming into a rut. You want to have both wheels in line coming into a rut.
Look well ahead once you are in the rut, sit forward on the seat, and bring the throttle on as soon as you get into the rut. Erosion ruts in the bush can be the undoing of a great trail ride. Their irregular form and depth can make them difficult to ride through, and very hard to get out of.
They usually end abruptly with a root or slab of rock running across the end of the rut, so be prepared to loft the front wheel to exit them.
Sand Riding Tips:
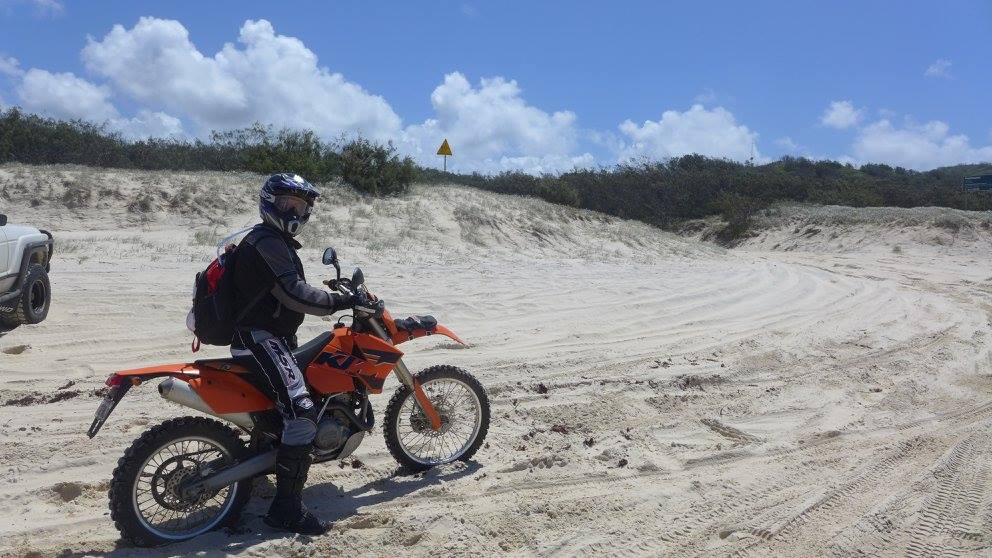
I like to compare riding in deep sand to a boat in the water. When a boat is traveling very slowly, the rudder has almost no effect, and steering is ineffective. Once the boat gets up on the plane, the handling improves, and the steering is more responsive.
Likewise, a dirt bike has almost no control in deep sand at slow speeds. Once you get the speed up, it is like a boat planing on water, and you have a lot more control.
So the best thing you can do is shift up the gears as quickly as possible and keep your speed and momentum up. Sit back on the bike to add more weight to the rear wheel.
The worst thing you can do is put your feet on the ground. This transfers your weight off the back wheel and allows it to spin and bury itself in the sand.
So the most important things to remember are to keep your weight back, and your speed up. Avoid using the front brake, as this will bring you to a stop real quick, usually over the handlebars.
Also beware of engine overheating, as the revs are very high relative to speed. Overheating is a common occurrence.
For more info on setting your bike up for sand riding, check out my post ‘Preparing Your Bike For Sand Riding’
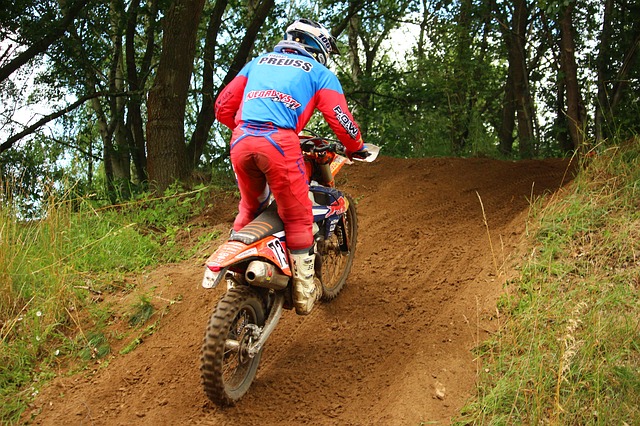
Log Hopping:

Logs are one of the most common terrain obstacles you will encounter in the bush. The size of the log may vary, but the technique remains the same. Using the suspension action and precise throttle control are the key elements.
The rear wheel must contact the log face at the same point as the front wheel. If you’re comfortable with popping wheelies, you simply execute the same maneuver into the face of the log. The point of contact must be between the middle and the top of the log.
Once the front wheel has been deflected into the air, and the rear wheel makes contact with the log, the second burst of throttle must be applied to launch the bike over the log. Too much throttle and you will launch the bike into orbit, and too little throttle will cause the front end to slam down and send you over the bars.
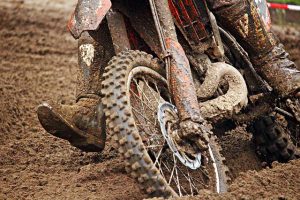
It’s a good idea to check out the wetness of the log. A slippery log can cause the bike to skid sideways.
I got tripped up by this once and ended up with a serious hamstring tear. It must have looked hilarious, but it made for a very painful ride back to the car.
The Wheelie:
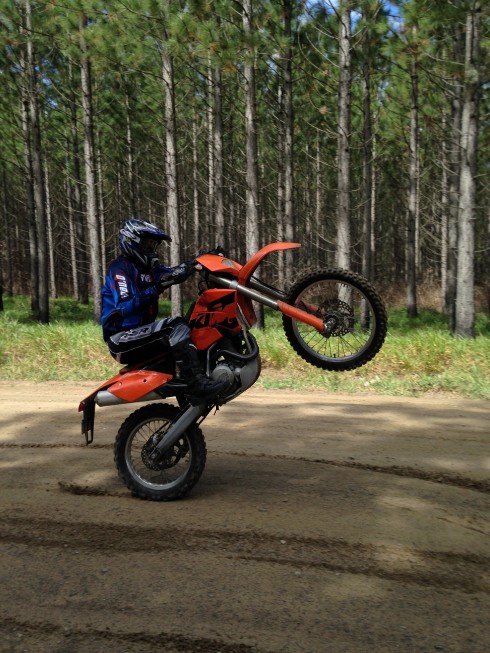
The wheelie is a great way to gain confidence in lofting the front wheel. It’s best to practice this going uphill rather than on flat ground first.
The reason for this is that you don’t have to loft the wheel quite so high, and as you blip the throttle, if you are not quite on the balance point yet, the revs will not just keep increasing till you run out of power, and the front wheel must come down again.
Begin by riding along at ‘walking pace’ in first gear, sit back on the seat, and keep your foot over the rear brake, and finger on the clutch.
Apply the throttle and clutch aggressively to pop the front wheel up. When the wheel comes up to almost balance point, pull in the clutch and hit the rear brake. This will bring the front wheel down very quickly.
It is important to master this early on, as it is your safety net to prevent a loop-out. Once you are comfortable with this, try to keep the wheelie going a bit longer. You will soon get an idea of where the balance point is, as the revs will just keep increasing if you are below the balance point.
As you become more comfortable with this, try starting off in second gear, again by using the clutch and throttle to loft the wheel. You will notice the throttle is not so responsive, and the speeds will be higher.
Gradually reduce the gradient of the hill you are practicing on until you are confident on flat ground.
Always remember to keep your foot over the rear brake to prevent the loop-out. In time you will be able to click up through gears without using the clutch, but you must be slightly below the balance point when you change up, or it could send you over the back at high speeds.
The Stoppie:

This is a great party trick. It requires a very precise front brake feel and control.
To perform a stoppie, sit forward on the seat and have your fingers over the brake and clutch levers. Use first gear to begin with, a little over walking speed. Look for a section of terrain which will offer good traction. Use a small dip or bump to compress the rear suspension.
As the rear suspension rebounds, pull in the clutch and apply the front brake aggressively. Your forward weight position combined with the aggressive use of the front brake should cause the rear wheel to come up off the ground.
If it lifts a little too far for your comfort, let the front brake go and lean back to bring the wheel back down again.
As you become more confident with it, increase the approach speed. The faster you go, the further you can travel on the front wheel.
When attempting higher speed stoppies, look for a smooth section of ground to practice on. When traveling along on the front wheel, you are at greater risk of going over the bars if you hit a hole in the ground. Learn on flat ground, then make the transition to varied terrain.
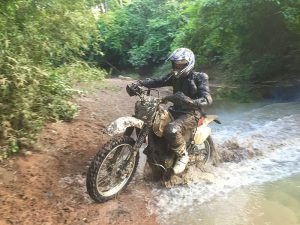
Water Crossing:
On your trail rides through the forest, you are likely to encounter a stream or creek crossing or two.
The two main factors to consider are its depth and the rate of flow. Drowning the engine is the main concern and the thing that will stop you from continuing.
The smart thing to do is get off the bike and inspect the creek before charging into the unknown and then having to rescue your bike, and then try to resuscitate it.
Decide whether to cross or not: If the water is more than knee-deep and fast-flowing it may be best to avoid it if you can.
Looking for the best line to take can usually be done from the bank, but if you are unsure it may pay to walk through and look for any hidden obstacles like rocks or debris that could knock you off balance.
Check if the trail continues on the other side to determine whether others have crossed at this point before.
Choosing your path: Look for a smooth shallow line to follow. Still water runs deeper, and the areas with broken water will be shallower, but rockier. Staying in the tracks of 4WD vehicles will generally give you a smoother path.
Choose the right speed to enter: Enter the water in first gear at about walking pace, letting the momentum of the bike push the water away from you.
Keep your thumb near the kill switch so that you can quickly stop the engine if you tip over, and avoid sucking water in.
Maintain forward motion: Lightly slip the clutch to keep the revs up and avoid stalling the engine, but avoid spinning the rear wheel. Look ahead to where you will exit the creek.
Stand up on the bike with knees slightly bent to better absorb obstacles and give you a better view ahead. Try to create a small bow wave in front of the bike to help keep the water depth around the bike down.
Be careful not to over-rev the engine as this will suck water into the engine. Staying upright is the main concern here, so don’t be afraid to get your feet wet by dabbing them into the water to keep your balance.
Ask for help if you come unstuck: If you get stuck midstream, don’t be afraid to get off and walk your bike across using the engine and slipping the clutch with the bike in first gear. Your feet are wet anyway. Ask a friend to help if you need it, as you may be helping him when his turn comes. Caution is always the best approach to avoid long delays in drying out a drowned bike.
How To Restart A Drowned Dirt Bike
Dirt Bike Safety Tips – How To Avoid The Dangers
If you have any comments or tips, please feel free to leave a message below.
Great article, your riding tips and techniques are spot on. I certainly could have used the log hoping tips in my younger days.
Sadly, I do not get to ride anymore due to aback injury I received on a street bike.
Just wanted to that I think what you have here is great, all young riders should pay attention!
Brendon
Hi Brendon. Thanks for your comments. There’s a few good tricks here, I’m planning on mastering the Stoppies next. The bikes are so much better handling these days, so a lot more is possible. Unfortunate about your back injury, riding a dirt bike really does require a high level of fitness. I’m in my fifties now and consider myself lucky to be still riding.
These dirt bike riding tips are spot on! Focusing on body positioning and throttle control has really helped me improve my off-road skills. It’s great to see such practical advice for both beginners and seasoned riders.
Hi Daniel. Yes, it’s all about body positioning and throttle control, no matter what your skill level. There’s always something new to learn. I’ve been riding over 40 years and still find a challenge in it, although at more manageable speeds now.
Greg
Thank you for sharing your wonderful information.
Hi Emaa. Glad you enjoyed the article. It’s a great sport and we never stop learning. Thanks for your thoughts.
Greg
Great read! The emphasis on staying loose and letting the bike move beneath you is a game-changer. Dirt bike riding requires such a unique balance of control and freedom, and these techniques really highlight that.
Hi Keith. If you can focus on one technique at a time each time you ride, it will go a long way towards improving your skills, and your riding enjoyment.
Greg
Great tips! This blog is super helpful for riders looking to boost their dirt bike skills and confidence.
Hi Frank. The learning process never stops, there’s always something new to master. Thanks for your thoughts.