50 Handy Tips
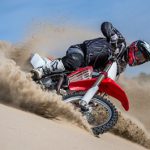
Here are my 50 best Dirt Bike Setup Tips to help make your trail riding a hassle-free experience.
This list comes from over 30 years of experience racing and riding dirt bikes of all types, and sharing ideas with some expert riders.
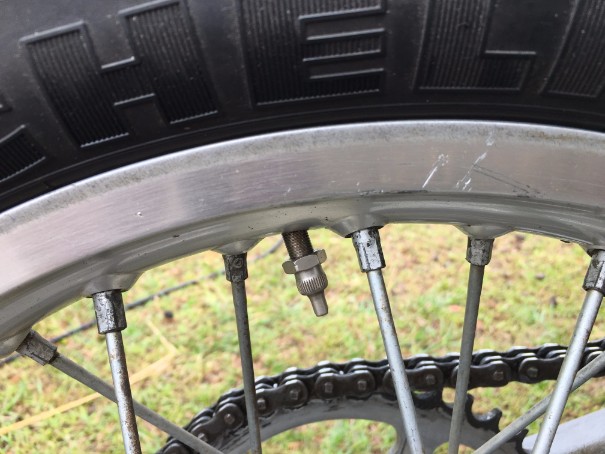
1. Wind your tire valve core nuts up as a lock for the valve cap. This will allow the tire and tube to spin a little without tearing out the valve. When you see the valve angled over, this is a warning that the tire is slipping.
2. Use heavy-duty tubes. The extra thickness helps prevent a pinched tube, which is the most common type of flat tire you will get.
For more on Tire Maintenance: Dirt Bike Tire Pressure – What You Need To Know
3. Use baby powder inside the tires to help the tube move around inside the tire carcass. This can help prevent pinch flats.
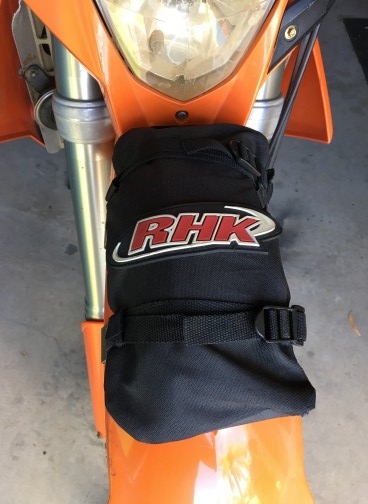
4. Always carry at least a front tube on a trail ride. It can also be used in the back wheel if necessary if you don’t have the space to carry two tubes. A good place to carry a tube is on the front fender in a fender bag which clamps to the edges of the guard.
For more on Soft Luggage Systems: 8 Best Soft Panniers For Lightweight Adventure Bikes
5. Always use valve caps that can remove a valve core. If your bike didn’t come with them, they are available from your local tire service center.
6. Replace the rim’s inner rubber band with duct tape. In competition Enduros where a quick tire change is critical, the rubber band can get in the way. Make sure the duct tape is just wide enough to cover the nipple heads.
7. Whenever you do a workshop tire change, use a wire brush to go around the rim’s bead where the tire sits. Powder dust and dirt can build up there and make the tire slip.
8. Stick a few strips of duct tape down the center of the front guard. It is easy to get to for a quick trail-side repair.
9. Store some cable ties inside the handlebar cross brace pad. It saves having to open your bumbag if you need them.
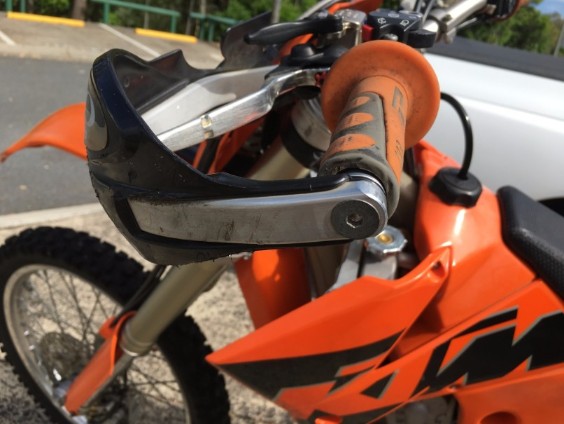
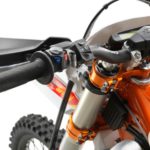
10. Wrap some plumber’s Teflon tape around the handlebars under the clutch and brake perch brackets. This will allow the levers to spin instead of breaking off if you crash.
11. Spray a little WD40 inside the handlebars. This can help prevent corrosion which will weaken the bars over time.
12. If you have handguards fitted spraying WD40 on the end mounts will prevent them from seizing up and being hard to remove later.
13. Regular cleaning and greasing of the clutch and brake lever pivots will improve their action, and reduce the rate of wear.
14. Useful spares to be permanently stored in your gear bag should include socks, riding jersey, tubes, goggles and lenses, rags, surgical rubber gloves and CO2 bottles.
15. When fitting handguards to oversize or tapered handlebars remember you’ll need tapered outer bar clamps. Barkbusters have different sets of hardware to suit all brands of bars.
For more on Barkbusters handguards: Barkbusters Ego Handguard Review
For 6 of the best handguards: 6 Best Dirt Bike Handguards – For MX & Enduro Riders
16. When refitting wheels always wipe the disc rotors with a rag soaked with metho. Any grease or dirt on the rotors from the tire change will quickly transfer to the pads and reduce their efficiency.
17. When stamping on the wheel during a stubborn tire change, be careful not to bend the disc rotors.
18. When replacing brake pads, it is a good idea to clean and grease the caliper float pins as they become dry and
tight which prevents the calipers from moving freely on the pins.
19. When doing oil changes, it is a good idea to allow the oil to drain overnight if you have time. Remember to start the process with a warm engine.
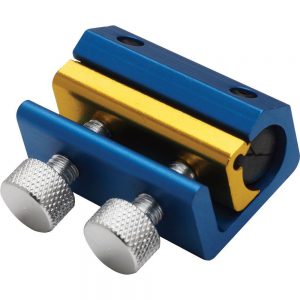
20. When lubricating the clutch cable, use a Cable Luber and WD40. Hang the engine end of the cable down and drain overnight. Never use chain lube.
21. Don’t flush throttle cables with WD40, or anything else for that matter. It will end up in the carb, and spark plugs do not like WD40.
22. Clean and spray WD40 on the inside of the throttle twist tube.
23. Old front and rear tubes can cut up to make rubber bands. Keep them in your bumbag for trailside emergencies.
24. The next time you have the rear wheel out, slip a couple of those old tube rubber bands over the swingarm on the side stand side. The bands can be used to hold the stand up if you lose the spring.
25. Always put a Muffler Wash Plug into the exhaust pipe when you are transporting or washing the bike. Dust can be sucked into the engine when transporting.
26. Most swingarms and frames have drain holes on the underside. Spray some WD40 in the holes to help prevent internal corrosion, and keep them clear.
27. If you are replacing the countershaft sprocket, check the condition of the final drive seal. They are often overlooked.
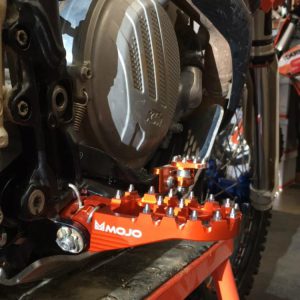
28. If the footpegs have started to bend down or look worn and need replacing, think about a set of trick Anodised Aluminum Billet machined pegs.
For some of the best aluminum footpegs available: Bling Your Bike – Mojo Product Review
For a review of aftermarket footpegs: 5 Best Dirt Bike Footpegs – Aftermarket Upgrades
29. An excellent place to store a spare gear change lever is under the seat. Use cable ties to fix it to the frame rail. This saves weight in your Bumbag.
For more on packing tools for your Bumbag: Dirt Bike Tool Kits – Bumbag Essentials
30. Always ride with a Hydration Pack. It’s very important to keep hydrated, and the water can be used to top up your radiator in an emergency.
For a review of the best available: 10 Best Hydration Packs For Dirt Bikes
31. If you are going on a long dusty ride, or a two-day ride, start with a filter skin over the air filter element. It can be removed halfway through the day, or for the second day, and you have a completely clean element again.
32. Always ensure the air-box drain rubber is clean and free of dirt. It may not drain water quickly after a water crossing.
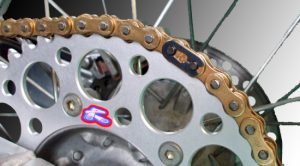
33. Check the countersunk bolts which fix the rear sprocket often. They tend to settle over time, especially on alloy sprockets. Use Loctite on them. It will prevent the nut from coming off, but not always from coming loose.
Make sure the chain connecting link closed end is always facing the direction of travel.
For more about chain maintenance: How To Clean A Dirt Bike Chain
34. Remove the carby float bowl drain plug occasionally and check for sand and water droplets.
34. When tightening the rear wheel axle nut, place a spanner into the chain at the top of the sprocket and roll the wheel back a little. This pulls the wheel forward onto the chain adjusters, then the axle nut can be tightened.
35. If you carry a spare axle nut, carry the alloy adjusting block as well. If you lose the nut, the block will also be lost.
36. Always wait a few minutes before refitting a clean air filter element. The fumes from the filter oil can prevent a four-stroke from starting.
37. Never wash air filters with petrol. The petrol deteriorates the filter foam and will reduce its life. Mineral Turpentine is next best if you have run out of Air Filter Cleaner
For more about cleaning your air filter: How To Clean A Dirt Bike Air Filter
38. Always keep a few pairs of surgical rubber gloves in your Bumbag. They’re great when squeezing water out of an air filter on a drowned bike.
39. Protect spark plugs in your Bumbag with a sealed plastic container. They’re available from bike shops.
40. When doing a tire change on the trails, store the axle in the end of the muffler. It will keep it clean and out of the dirt.
41. Carry a few massive cable ties in your Hydration pack. If you get a flat tire and don’t have a spare tube, strap four or five around the flat tire and rim and you’ll be able to make it back to the car.
42. Always wash your goggles in warm soapy water soon after your ride. Leaving sweat in the goggles even for a few days will start to rot the foam.
43. The same applies to your helmet. Thankfully all helmets these days come with removable linings.
44. Never dry gloves or riding gear in a dryer. They aren’t supposed to shrink, but they usually do.
45. After you’ve washed your boots, leave them to dry in the shade, not the full sun. The leather parts can become hard and brittle.
46. Always carry spare tie-downs and some rope in the car. You never know when you might need them.
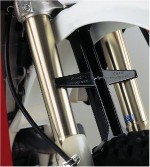
47. Always use a Fork Support Brace when tying down the front of the bike. This will prevent damage to the front fork springs and seals while the bike is on the trailer.
48. You should always pack your riding gear the night before a ride, rather than early in the morning when you’re still half asleep.
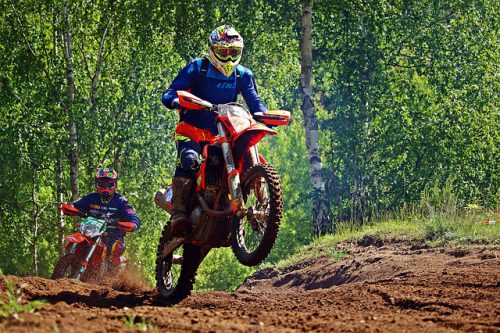
49. It’s a good idea to look over other riders’ bikes before the start of your ride. It may help you spot any potential problems before you head off into the middle of nowhere!
50. Last but not least, make sure you consider other trail users on your ride. Stop if you see horse riders to avoid scaring them. If you’re camping don’t race around the campgrounds. Always keep an eye out for 4WD vehicles on the trails.
Learn how to fine-tune your suspension setup: How to Adjust Your Dirt Bike Suspension – A Do It Yourself Guide
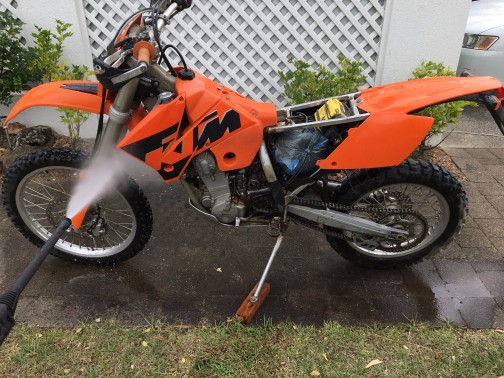
Washing Your Bike
There’s a lot more to cleaning a dirt bike than spraying a hose on it, then hitting it with the WD40.
Washing your dirt bike should be your first step before doing any maintenance on your bike. It will keep your bike looking good and lasting longer.
Ideally, you should wash your dirt bike as soon as you can after getting home. It’s much easier to get the mud off, and there’s less time for corrosion to start happening.
For more on how to wash your dirt bike: How To Wash Your Dirt Bike Properly
Related Posts:
How To Clean A Dirt Bike Air Filter
 Dirt Bike Tool Kits – Bum Bag Essentials
 How To Install Dirt Bike Grips