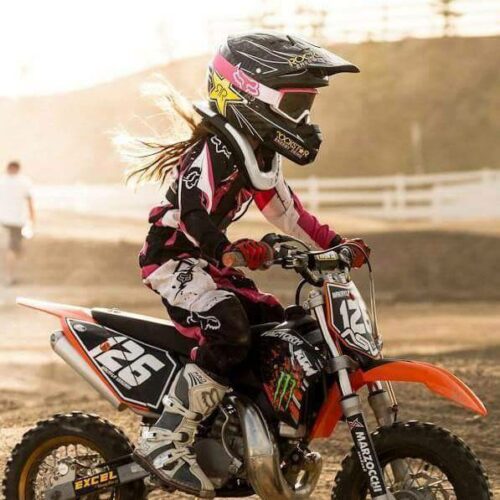
So your child wants to ride dirt bikes. After the bike, the helmet is the next crucial piece of equipment. This Kids Dirt Bike helmets buying guide will help you make the right choice.
Most kids get into dirt bike riding because of an older sibling, or the family is already riding dirt bikes. In this case, you will already have a good idea of what you need.
If not, and you’re new to the sport, this post will hopefully save you some time and steer you in the right direction.
Choosing a youth dirt bike helmet is not as simple as it once was. These days there are so many more factors to consider due to the advances in helmet technology.
There are so many more safety features available, so in this article, I have attempted to break them down to make the selection process easier.
How To Choose a Kid’s Dirt Bike Helmet:
Your Child’s Skill Level
If your child is an absolute beginner, it’s critical to find a helmet that is comfortable, safe, and that they like wearing. They may not get much past their first ride if they don’t like wearing the helmet.
Look for the basics like good ventilation, lightweight construction, and of course the DOT, ECE, and Snell ratings.
When they are just starting out they will fall quite often, but it is likely that they will be riding on a soft surface, or grass, so it will not be a big deal.
If your child is a bit more experienced and has been riding for a while, maybe getting into motocross, it will be time to look for a helmet with a few more features.
Safety features found in adult helmets like MIPS, removable cheek pads, and extra ventilation will be available in the higher-end Youth dirt bike helmets.
Your Budget
How much should you spend on a kid’s dirt bike helmet? As much as you can afford, but don’t sacrifice safety and comfort to save some money.
As parents, you have lots of expenses on all the other riding gear, so it makes sense not to blow the budget on a helmet.
Expect to spend about $100 – $150 for an entry-level Youth dirt bike helmet.
Features To Look For
Construction:
There are several different materials used in helmet construction. The most common is Polycarbonate, Poly Alloy, and Polycarbonate blends for kids’ helmets.
Fiberglass and Carbon Fiber are usually used in the more higher-end adult helmets.
Good Ventilation
A helmet that is well vented is a very important feature to look for. The more the better if the riding conditions are usually warm.
Look for intake vents that are able to be opened and closed, and exhaust vents at the back of the helmet which allow the warm air to exit the helmet.
Liner
Helmets these days have removable and washable liners, which is important to keep the helmet smelling and feeling fresh.
Look for antimicrobial and antibacterial materials being used.
Light Weight
The helmet’s weight is especially important with kids’ helmets. If your child is just getting used to the feel of a dirt bike helmet, they will be feeling claustrophobic at first.
A lighter helmet will help them feel more comfortable and obviously be less strain on their neck.
Styling & Graphics
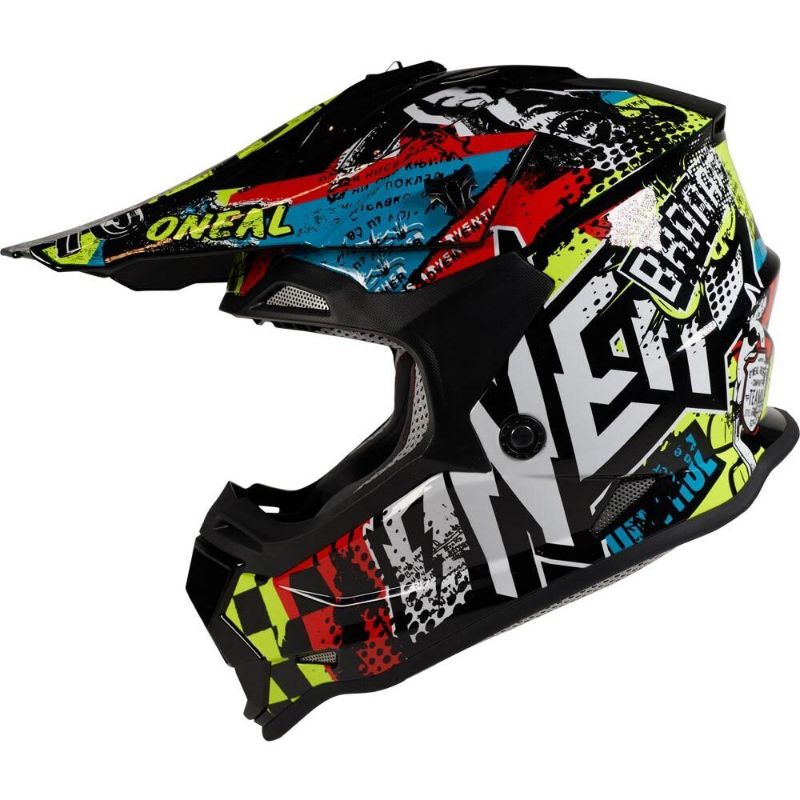
The graphics on the helmet won’t make it any safer, but your child has to like the look of the helmet. A cool-looking helmet is an important factor for a kid’s helmet or any rider for that matter.
It does add to the cost slightly though.
Safety Features
Emergency Cheek Pad Removal System:
We’re starting to see this feature in some Youth and Kids motocross helmets now. In fact, some competition events require it.
This feature allows emergency medical personnel to easily remove the cheek pads from an injured rider’s helmet. The helmet can then be gently removed with minimal load placed on the rider’s neck.
Rotational Impact Protection:
MIPS (Multi-Directional Impact Protection System) is seen in helmets from companies like Bell, MSR, Fox Racing and is designed to imitate the brain’s protective fluid. The brain is surrounded by a low-friction cushion of cerebrospinal fluid.
MIPS works in a similar way and gives the helmet its own low-friction layer between the EPS and the comfort liner, which absorbs much of the energy created by an angled blow to the head.

Breakaway Visors:
There are several manufacturers offering this on Youth helmets in various forms. The idea is that the visor will break away before it can catch on the ground in a crash and cause injury through rotational forces on the helmet.
Companies like Fox Racing are offering MVRS (Magnetic Visor Release System) and Bell with the ‘Flying Bridge Visor’ which will release in the event of a crash.
Dirt Bike Helmet Safety Standards
Worldwide there are multiple helmet safety standard organizations that test helmets.
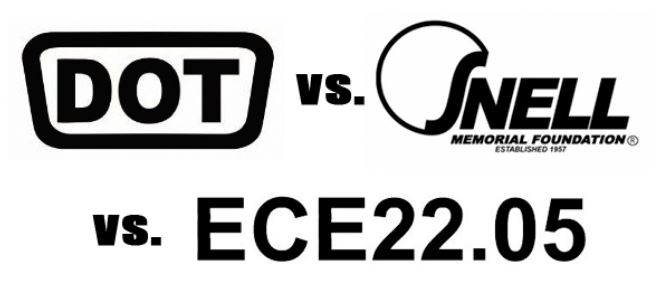
The most common standards you will see on helmets are DOT, ECE 22.05, and Snell. Some helmets are certified to multiple standards. Here’s a brief explanation:
DOT Helmet Standard (USA): This stands for ‘Department of Transportation’ and is applicable to helmets sold in the US for on-road use. However, using a certified helmet for off-road or competition purposes is certainly a good idea. DOT relies on the individual helmet manufacturer to perform their own tests and no further testing is carried out once the helmet reaches the market.
ECE 22.05 (Europe): This stands for ‘Economic Commission for Europe’ and is accepted in more than 47 countries. The ECE standard, like DOT, favors impact-absorbing helmets but has a more stringent set of tests. Unlike the DOT standard which relies on the manufacturer being honest, the ECE batch tests helmets prior to public release to ensure quality before the helmet leaves the factory.
Snell (Snell Memorial Foundation M2010) Helmet Standard (USA):
A private non-profit organization founded in 1957 after the death of William ‘Pete’ Snell, who died in 1956 after sustaining injuries to his head in a car race. They are dedicated to improving helmet safety and the Impact Attenuation is higher than the DOT standard.
Snell Standards are the world’s toughest. They offer prototype testing to helmet manufacturers. Helmet companies submit their helmets voluntarily for testing. Snell also randomly buys Snell approved helmets and re-tests them for compliance after they have reached the retail market.
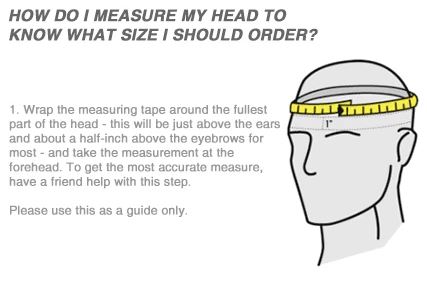
How To Measure Your Child’s Head
The first thing you need to do is to determine your child’s head size:
1. Wrap a soft measuring tape around their head about half an inch above the eyebrows, above the ears, and around the back of their head at the largest point.
2. Match their head size with the helmet manufacturer’s size chart to find a match. Each helmet manufacturer will have a different sizing chart, so you will need to follow each brand’s sizing.
3. If you have the opportunity for your child to try the helmet on, it should sit squarely on your head with the top of the helmet’s eye port just above your eyebrows. It should fit snuggly at first, then loosen slightly as it wears in.
Your fingers should not be able to fit easily between your child’s head and the helmet.
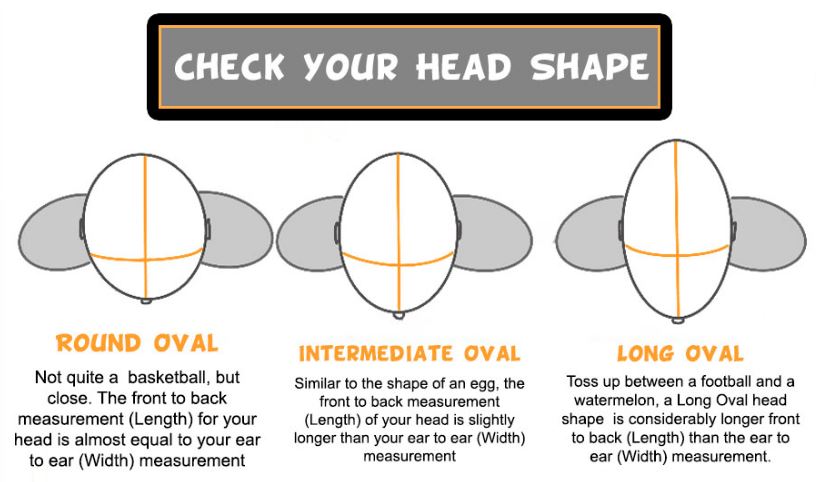
Head SHAPE is just as important as head size. A perfectly sized helmet may fit comfortably on one rider, but be uncomfortable on another. A lot of manufacturers offer the following shapes when manufacturing their helmets:
- Long Oval – This shape resembles a more oblong head that is longer front-to-back and narrower side-to-side.
- Intermediate Oval – This shape resembles a round head that is shorter front-to-back and wider side-to-side than the Long Oval. This is the most common offered by manufacturers.
- Round Oval – This shape resembles an oblong head that is longer side-to-side rather than front-to-back like the Long Oval.
To get the maximum protection from your helmet it must be correctly sized and fitted. Take your child’s measurements and factor in your head shape when selecting.
Different helmet manufacturers have their own sizing charts. Always refer to the manufacturer-specific sizing chart when selecting the size.
Final Thoughts
DO NOT buy a larger size helmet thinking that your child will grow into it. For a helmet to do its job it must be fitted correctly. A loose-fitting helmet can cause a worse injury and you are also running the risk of it coming off.
NEVER buy a used helmet. It may look OK visually and not be scratched, but you will never know if it has had an impact that has damaged the shell and compressed the EPS liner.
Also, do you really want your child to wear a helmet that someone else has been sweating in, even though the lining may have been washed?
The only exception to this would be using a helmet from an older sibling, but only because you know its history, and can be sure the helmet has not been damaged.
Now you know what to look for when selecting your Kids Dirt Bike helmet.
Related Posts
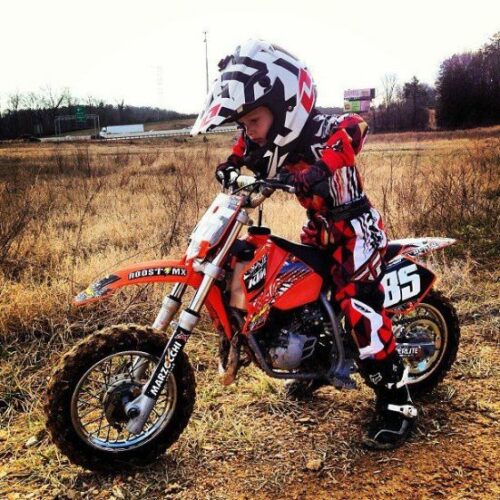
Best Kids Dirt Gear (Parents Guide)
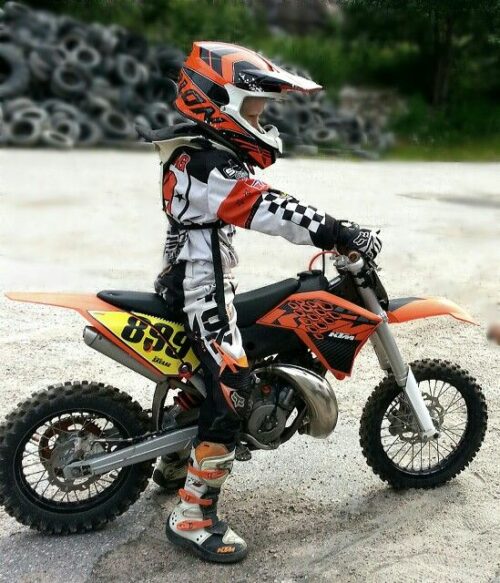
Kids Dirt Bike Boots Buying Guide
Dirt Bike Goggles – Your Complete Buying Guide
Is there a Kids Dirt Bike helmet that you can highly recommend? Let us know in the comments below.

