A little time spent on your Dirt Bike before a ride can prevent a fun day from turning into a day you want to forget. Here are some Dirt Bike setup tips to keep you out of trouble.
You can get to some pretty remote areas on a dirt bike, and it’s not like you can call for a breakdown vehicle if you’re miles from the road.
Thankfully now most people carry mobile phones, but there’s not always good coverage in some areas, so a little time in the workshop can make your ride a whole lot more enjoyable.
Here is a brief summary of some key things to check for the one-day trail ride, which I’ve expanded on in 50 Handy Setup Tips
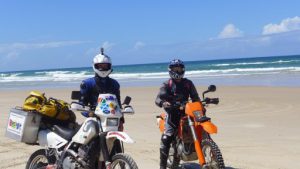
Preparation Begins In The Workshop
There are a few basic things I check before heading out. Keeping your bike in good working order is easy, there are just a few tricks to know.
One of the biggest tips is to read your owner’s manual. Bikes are a lot more complex now than they were before water cooling, hydraulic brakes, adjustable suspension, and high-performance engines.
Here’s a brief list of the basic checks you should do before every trail ride.
Engine Oil Level
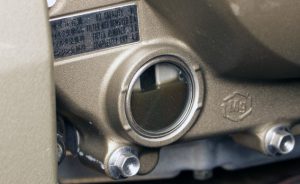
“Oil is cheap, engines aren’t”. A quick visual check of the inspection eye should be done before every ride. Oil change intervals of 3000km should be maximum if you ride a single-cylinder bike.
Even with the high-quality oils available today, the high level of heat generated from a single-cylinder engine gives the oil a workout.
Wheels and Tires
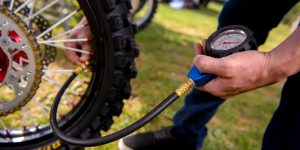
Check the air pressure in your tires before every ride. As a general rule, 14 to 16 psi is good for most terrain. The higher the pressure, the less the chance of a puncture, but the rougher the ride.
If the trails are rocky, I always opt for higher pressures. Check your rim-locks are tight. If the tire spins it will rip the valve out.
For more on tire pressures: Dirt Bike Tire Pressure – What You Need To Know
A handy tip is to wind the valve-stem nut up against the valve cap. If the tire moves on the rim, you will notice it easily as the valve will be at an angle.
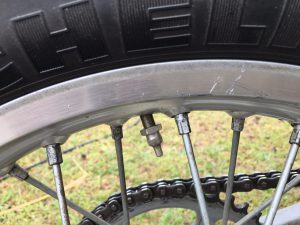
Check the spoke tension often. Most people just tap the spokes with a screwdriver, and a dull sound will indicate a loose spoke.
Hydraulic Fluid Levels
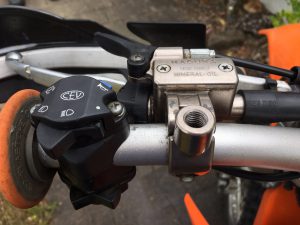
Check the levels of the brake and clutch fluids at the master cylinder inspection eye on the handlebars, and always use the recommended oil as per your owner’s manual.
My KTM uses mineral oil in the hydraulic clutch, but it usually varies on different bikes. Use the wrong type of oil and you could destroy all the seals in the system, and have to bleed and replace the oil.
It’s worth keeping it well maintained, there’s nothing worse than having to ride home with no clutch.
Chain Tension
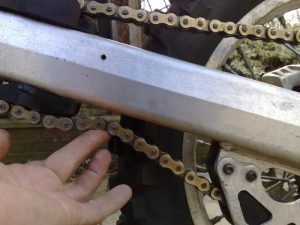
Refer to your owner’s manual for the correct chain tension and check it before every ride.
Too tight and you can damage the front sprocket engine shaft, and cause excessive wear on the chain and sprockets.
Too slack and you can derail the chain. Keep an eye on the joining clip, it can wear against the chain guides and get thin enough to break.
The opening of the clip should always be facing back in the direction of the chain travel. Always carry a spare joiner. It’s also a good idea to use a thread lock like ‘Loctite’ on your sprocket bolts.
For more on dirt bike chain maintenance: How To Clean A Dirt Bike Chain
Radiator Coolant Level
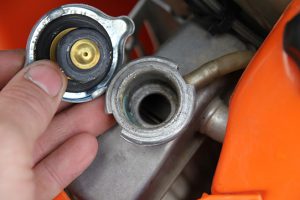
Check the level of coolant in the radiator. It’s also a good idea to look over the hoses and clamps as they tend to come loose frequently.
Do not put car radiator coolant into your bike. Make sure you get one specifically for bikes. The coolant level should be just above the fins.
Air Filter
It’s always best to clean your air filter after every ride. The quickest way to destroy your engine is to let it inhale a lungful of dust or sand.
Most dirt bike air filters are the foam type that needs to be cleaned with a special purpose air filter cleaner (or mineral turpentine), then washed in warm water, dried and re-oiled.
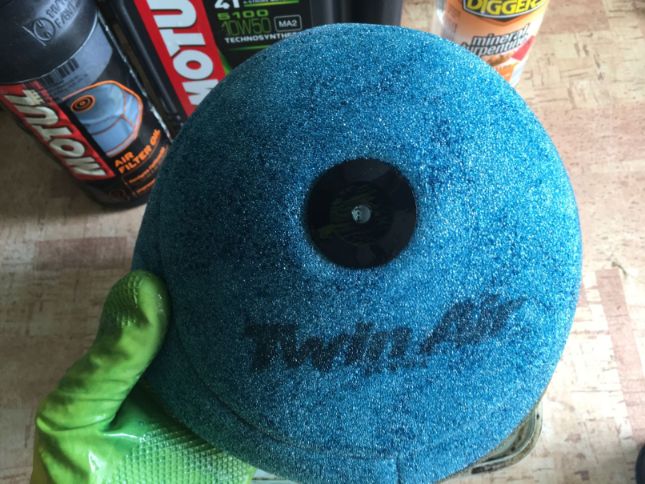
Never use petrol to clean the oil out of the filter. It will deteriorate the foam, rubber grommets, and glue that holds it together.
For more on cleaning your air filter: How To Clean A Dirt Bike Air Filter
Battery Charge
With most bikes being an electric start these days, and some bikes not even having a kick start anymore, keeping your battery fully charged is essential.
Batteries will generally last about 3 years, maybe more if you look after them. The worst thing you can do is to let it completely run it down.
Once this has happened 2 or 3 times, the battery will be dead. Common reasons a battery will run down are:
- Letting your bike sit unridden for long periods of time will do it. Put your battery on a trickle charger if you’re not riding.
- Only ever riding short distances will not give your bike’s charging system enough time to recharge the battery. Running your bike on idle for a few minutes will not be sufficient to charge the battery.
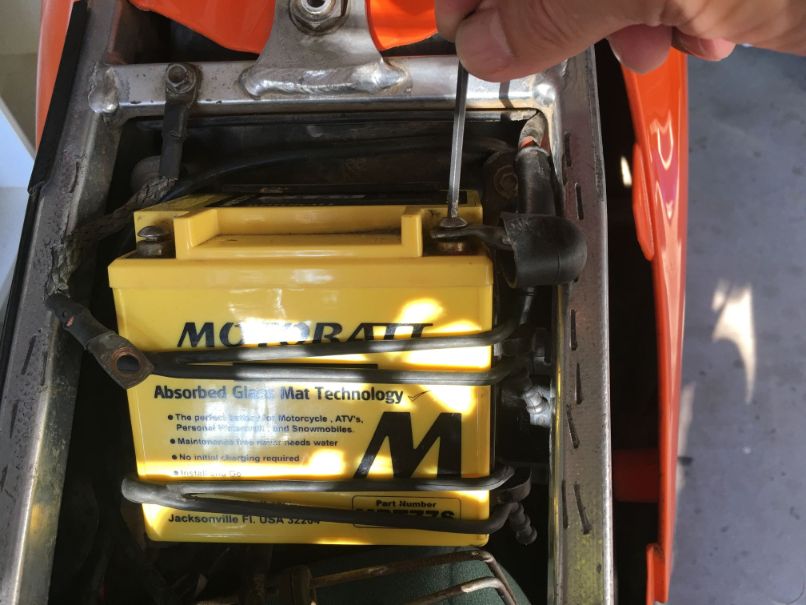
For more on battery maintenance and replacing: How To Replace Your Dirt Bike Battery
Transporting Your Bike
There are many options open to you to get your bike to the trails or track if you don’t want to ride there, or can’t because your bike is unregistered.
Utility Vehicle
If you own a ute then transporting your bike is very easy. You just need a good set of tie-downs and a loading ramp.
Most utes aren’t long enough to load the bike straight, so you’ll have to either load it diagonally or leave the tailgate down, which does give you the extra space to load the second bike.
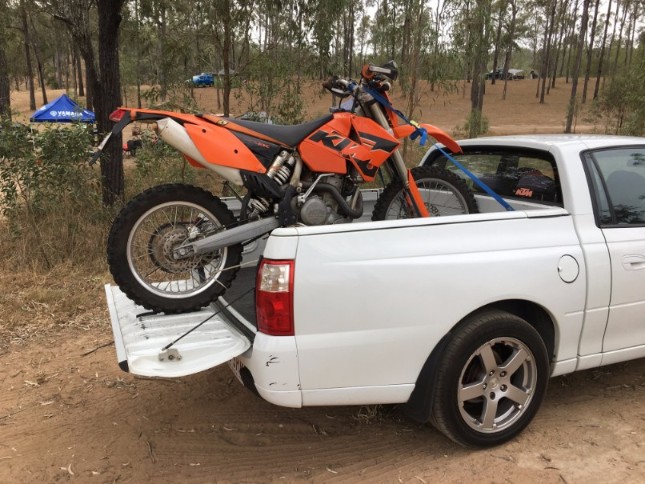
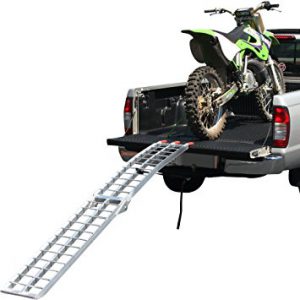
When looking to buy a loading ramp, don’t make the mistake I made and buy a really narrow ramp. Most of them fold in half and the narrow ramps tend to rotate if the bike isn’t dead center on the ramp.
It can make loading and unloading a real hassle, especially if your vehicle has a high tray like most of the 4WD vehicles these days.
I can highly recommend the Black Widow loading ramp, it has made loading and unloading a breeze.
For a full review of the best dirt bike loading ramps available today: 6 Best Dirt Bike Loading Ramps
Motorcycle Hitch Carrier
If you only have one bike to transport and don’t have a van or trailer, the motorcycle hitch carriers are a simple alternative. They are also available as a dual motorcycle hitch carrier.
You do need to select the right one to suit the class of hitch that is fitted to your vehicle, as a full-size dirt bike creates quite a download on the hitch. This is called the ‘Tongue Weight Capacity’.
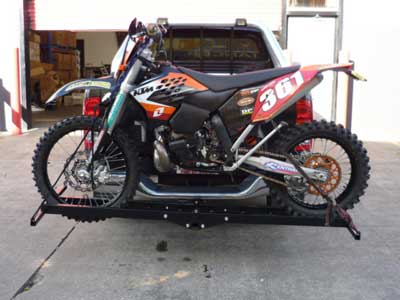
For a full review of the best Motorcycle Hitch Carriers available today: 6 Best Motorcycle Hitch Carriers (Plus What You Need To Know)
Open Bike Trailer
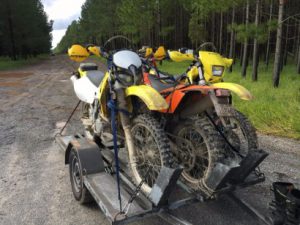
An extremely efficient way of transporting your bikes. They generally have three channels and welded anchor points, so you can easily get three bikes on them.
This is my method of transport some of the time, and we generally put the middle bike in facing backward to avoid the handlebars clashing, and make it easier to thread through the tie downs.
Enclosed bike trailer
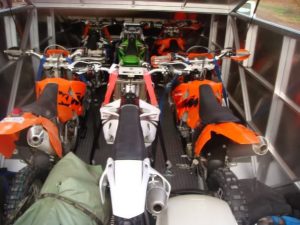
This is about the best you can do that can be towed by the family car. Most will fit three bikes and all your gear.
The big advantage is that it’s secure and out of the elements. Gear bags, boots, Petrol containers, tools – all can be stored around the bikes.
Vans
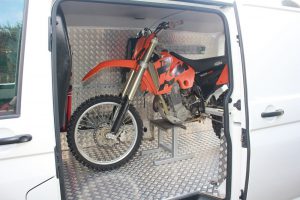
Vans are the ultimate, and the choice for professional riders doing lots of traveling. They eliminate the hassles of towing a trailer and provide the security and protection of an enclosed trailer.
If you’re a sponsored rider, the van provides the perfect solution, especially for long trips. The body panels provide useful space for sponsor’s logos.
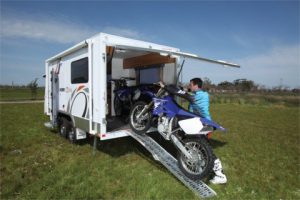
If you’re doing lots of overnight, or weekend trips, the Jayco Base Station, or its smaller, lighter version, the Work N Play is the perfect way of combining riding and camping in comfort.
They can sleep up to six, and get three bikes in the back, and all your gear.
You can cook, sleep and shower like you’re at home, and you’re not missing out on your home comforts.
Related Posts
 10 Best Gear Bags For Dirt Bikes
 Dirt Bike Tool Kits – Bum Bag Essentials
Adventure Motorcycle Riding Checklist
For a more extensive list of setup tips, check out: 50 handy setup tips
Do you have any setup tips that work for you? Please feel free to leave your thoughts in the comments section below.

Hi Greg
Thank you for a wealth of information. I am embarking on buying my first bike. I have decided on the Kawasaki KLR650 after speaking with some of my friends that have ridden for years. The basic idea is that it is a single cylinder with little frills, so not to much can go wrong, (wont be to costly).
What do you think?
Regards
Morne
Hi Morne. Thanks for your feedback. Have you bought that Kawasaki yet? You live in a great part of the world for adventure riding.
If you want my biased opinion…DR650 is the way to go if you want bullet proof reliability. I believe that KLR’s have a reputation for needing serious engine work after not very long.
This article took me back to days when I was a kid riding my Honda 50. I still have the Honda 50 and recently passed it down to my nephew.
It still runs just as good as the day I brought it home when I was a kid. My brother and I are teaching him how to maintain it.
I forwarded this article to my nephew so he has a reference on maintenance. Thanks for the great article. It brought back lots of good memories. I also saved your site to my favorites.
Jack
Hi Jack. Thanks for your comments. It’s great that you still have the Honda 50. It must be a collector’s bike by now. I wish I still had some of my old bikes. Glad my website was of some help to your nephew. I’m still adding to it, so there will be lots more useful stuff coming up.
Greg
Hi Greg, ‘Cool!’ was my first reaction! The bikes! The gadgets! The gears! Every guy’s dream man!
A very interesting and thorough review. Many pratical tips.
The safety aspects are well covered.
Biking, I’m putting this on my bucket list. Gotta get that helmet. And the back pack. And the trailer… And the truck….
Song
Hi Song. Thanks for your comments. Yes, it really is something you have to try. There’s so many forms of riding motorbikes, something for all types.