Your dirt bike boots would rank as one of the most important pieces of gear in your dirt bike riding arsenal, outranked only by your helmet of course. This Dirt Bike Boots Buying Guide will give you enough information to help you make the right boot selection to best suit your needs.
Your lower legs – feet, ankles, and calves endure more of the impacts than any other part of the body in dirt bike riding.
Even if you don’t race motocross, riding dual-sport, enduro, or adventure riding your boots will encounter heat from the engine, rocks, and boulders, tree roots, and of course impacts if you crash.
Nearly 40% of dirt bike injuries involve fractures or internal trauma, and over 60% of injuries involve an extremity like arms, legs, and feet. <source>
Features To Look For In A Boot
- Molded Soles vs Stitched soles: The molded sole is an emerging trend in dirt bike boots. There are pros and cons for each, molded soles tend to be lighter and easier to get around in, and the stitched-on type tends to be more durable, but it is a matter of opinion. A lot of boot manufacturers are switching to the molded sole now with their latest models, but there is still a good selection of the old-school stitched type sole around if you prefer that style, as I do.
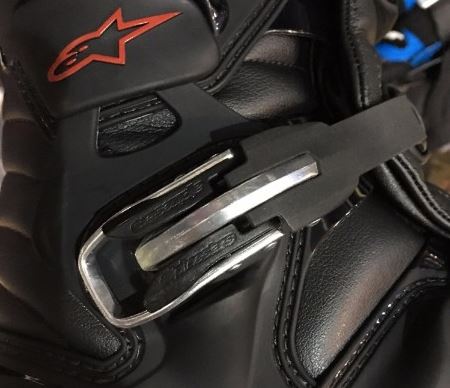
- The Buckle System: A well-designed buckle with a good positive snap-lock and a design that works even when caked with mud is essential. An adjustable memory setting so that you can set it once and then not have to readjust it every time you put the boot on is also a pretty common feature. Alloy buckles are obviously the way to go and you will find alloy buckles on all of the High-End boots. Entry-Level boots generally use a tough plastic compound buckle, so if you are considering a boot with plastic buckles make sure that they are replaceable in the event you break one. I’ve had many boots with plastic buckles and have never broken one.
- Lateral Ankle Protection: This is generally where you will find a difference between Entry Level and High-End boots. Hold the boot firmly and try to bend it sideways at the ankle, as if you were rolling your ankle on uneven ground. This is one of the most common ankle injuries, simply rolling the ankle. The more difficult it is to bend the boot at the ankle, the more support the boot should give.
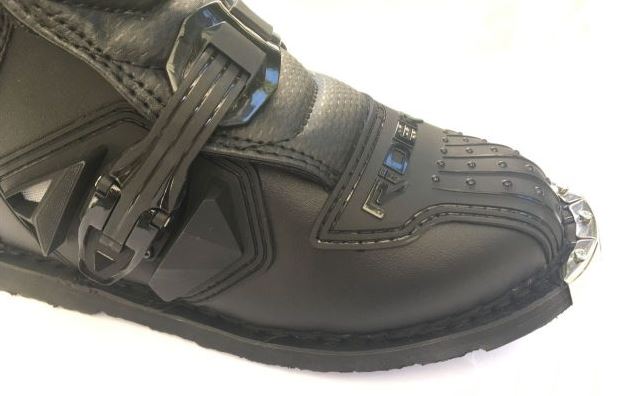
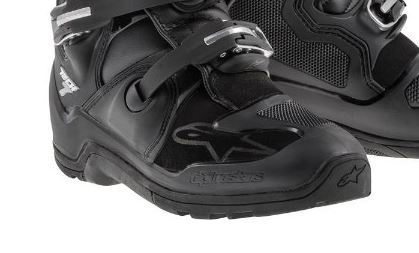
- A Slim Toe Box: The taller and bulkier the toe section of your boot, the more difficult it is to slide it under the gear lever. In a lot of cases, you may have to adjust the shifter on the spline to accommodate a new boot.
- Full Leather Uppers: Leather offers the best protection for the upper boot. The inner (medial) side will generally feature a heat shield for protection from the hot engine, and also give you a better grip on your bike.
- TPU (Thermoplastic Polyurethane) protective panels: Located at high impact areas like the shin, ankle, and back of the calf. Deflector panels on each side of the lower buckle to protect it from impacts is also something to look for.
- Flexible accordion panels: To the shin and back of the boot above the heel to aid in ankle flexion.
- Interior ankle padding: Plenty of padding to at least the ankle area is crucial. Also, look for moisture-wicking and antimicrobial fabric. An ‘Airmesh’ lining is a feature in a lot of boots to aid cooling. A replaceable insole is also a nice feature.
- A stretch gaitor: To seal the boot around your calf and prevent dirt and water entry. Most boots also feature a gaitor which seals the closure up to about the third buckle level to keep debris and water out.
Which Type of Boot is Best For Me?
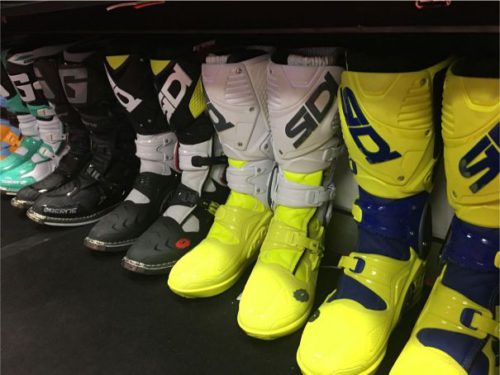
Motocross Boots
Motocross boots offer the most protection to the dirt bike rider. Ankle injuries are very common in motocross racing and most riders use a High-End boot. Ankle fractures can happen without even touching the ground, simply over jumping or falling short on a jump is enough to break an ankle.
If you’ve never worn motocross boots before, they will feel tight and restrictive, and not all that easy to walk in. Remember they’re not designed for walking in, they’re designed to protect your ankles, feet, and shins from injury.
Motocross boots are hard to walk in for a reason. When you walk there is flexion and extension of your ankle. Extreme ankle movements, called hyper-flexion and hyper-extension are very damaging to the ankle. Motocross boots are designed to protect you from this kind of injury by limiting the range of movement available to your ankle joint. This can make boots hard to walk in.
Some of the higher-end boots incorporate hinge systems that protect your ankle from hyper-flexion and hyper-extension while still allowing ease of ankle movement for gear changing, braking, and walking.
Trail/Enduro Boots
Trail and enduro riders encounter more natural obstacles like tree roots, boulders, and loose rocks. Look for a boot with plenty of toe and ankle protection as crushing injuries caused by a foot being trapped under the bike are very common.
A more chunky lug-style grip on the outer sole is important for those times when you have to manhandle the bike through tricky terrain or hill climb. Motocross boots typically use a smoother sole to allow the boot to skim the ground when railing through a bermed corner.
Adventure Boots
Adventure riders generally wear their boots all day, and are looking for more comfort than a motocross-style boot will give. They generally have a more flexible ankle to make walking in them easier, and like trail/enduro boots need a good outer sole grip for walking during extended periods off the bike.
They generally provide less protection to the calf/shin area because the boots are normally worn under the riding pants. Waterproofing is an important factor with adventure boots for those creek crossings or wet weather riding.
Trials Boots
Trials riders are looking for a boot that is light and flexible and generally with a molded sole. They need to be comfortable off the bike for the time spent walking the sections prior to the event.
Price Ranges – What Are The Differences?
Generally speaking, the more you pay, the better the protection you’re getting. It’s the old rule ‘You get what you pay for’.
Typically you will get superior ankle protection, better buckles, higher-grade leather, increased longevity, and a larger range of replaceable parts on the higher-end boots.
Entry-Level Boots – $100 – $200
These boots are designed for people on a strict budget and beginner riders. Although whether you’re a beginner or experienced rider, your ankles and feet are prone to the same injuries, so if you are on a tight budget and can stretch to a boot in the Mid-Level range it is well worth the expense.
In recent years a lot of the technology once only found in high-end boots is finding its way into the Mid-Range and Entry Level Boots. Features like hyper-extension protection and CE Approved impact protection can be found in the lower price ranges.
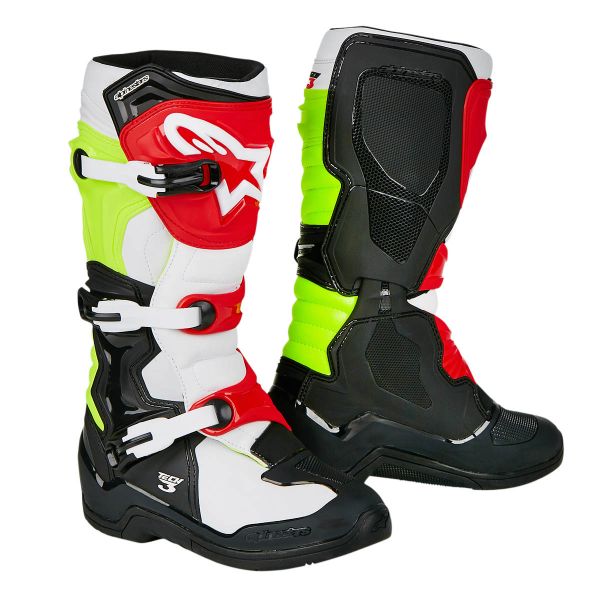
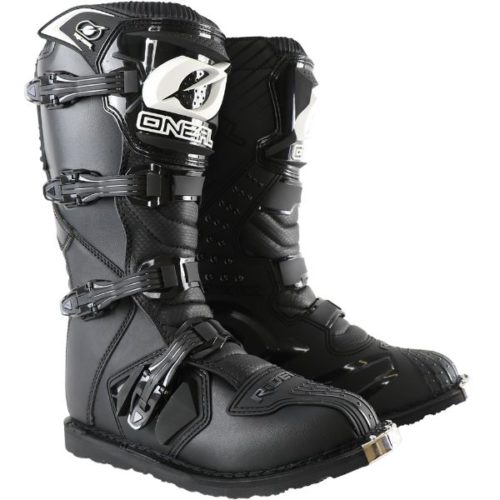
Some good options in the Entry-Level price range are the O’Neal Rider Boots, Alpinestars Tech 3, and Fox Racing 180 Boots.
For a review of Entry-Level Boots: 5 Best Dirt Bike Boots Under $200
Mid-Level Boots – $200 – $400
Any rider from a novice to an expert should consider a boot in the Mid-Range. They will offer better ankle protection, and more protection in the toe area, which is good for trail/Enduro riders.
They will also generally be more waterproof than the Entry-Level boots, although motocross style boots generally are not waterproof, only water-resistant.
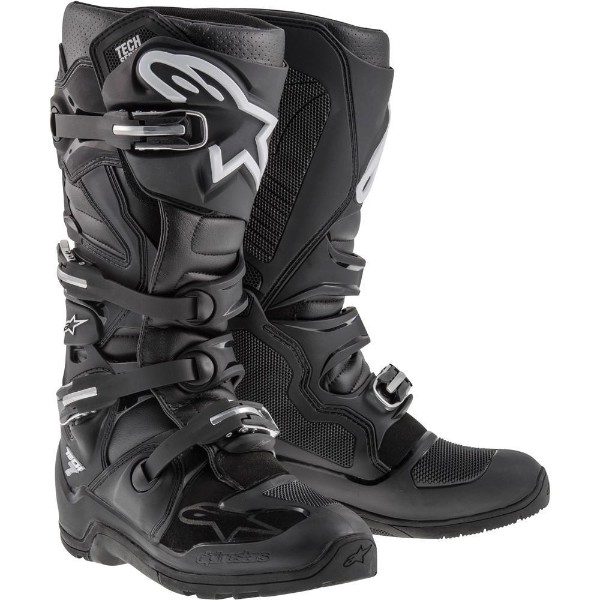
Some good options in the Mid-Level price range are the Alpinestars Tech 7 and Gaerne SG-10 Boots.
High-End Boots – $400 and Up
You would be hard-pressed to find a professional rider in anything less than a High-End boot, but you don’t need to be a professional rider if you simply want the best in protection, durability, and comfort.
Boots in the High-End price range will always outlast their cheaper alternatives. They will usually offer a large range of replaceable parts, which adds to the lifespan of your boots.
Most of the Research & Development in boot technology goes into the High-End motocross boot, and some of that technology filters down to the cheaper boots. Alpinestars are a good example of this with their Tech 3/5/7/10 range.
High-End boots generally include a lot of these features:
- Increased comfort
- Increased lateral ankle protection with a hinge system for better ankle flexion and also hyper-flexion and hyper-extension protection to your ankle.
- Advanced sole design with better structural rigidity.
- A slimmer toe-box for easier operation of the gear lever.
- Aluminum buckles and stainless steel hardware for better durability
- Many feature replaceable soles, both inner and outer.
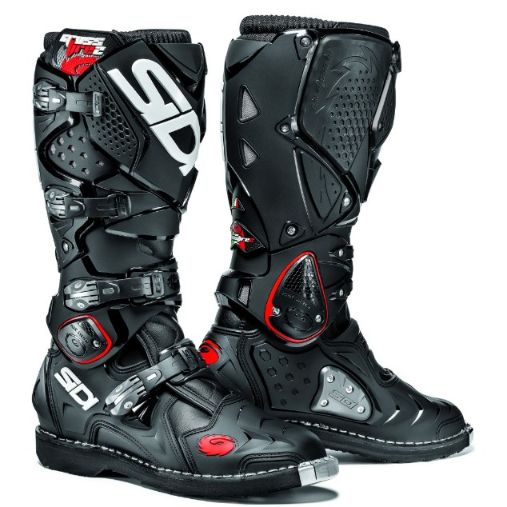
Some good options in the High-End price range are the Gaerne SG-12, Sidi Crossfire SRS, and Alpinestars Tech 10 Boots.
Boot Sizing
Each boot manufacturer will have its own different sizing chart, whether it’s the US, UK, or EUR. Unfortunately, there is no one sizing chart for all motocross boots, so it’s best to refer to the manufacturer’s own sizing chart.
First, check your own shoe sizing, and be sure to note whether it’s US, UK, or EUR.
When choosing your size, if in doubt you’re safer to go one size larger than your shoe size. If you swing between a say 9US and 10US shoe size, then go for the size 10US boot.
Going larger is always safer. If the boot is too small, there is nothing you can do. It will be made even worse if your feet swell when riding.
If your boots are a bit on the large size, you still have the option of adjustment at the buckles, and wearing thicker socks.
When fitted, your boots should be adjusted to be as tight as possible, but not so tight as to be uncomfortable. For your boots to provide the lateral support to protect your ankle, the buckles need to be tightened securely. There should be a small amount of force required to close the buckle, and they should comfortably squeeze your ankle.
As your boots age, the leather stretches and you will have to occasionally readjust the memory setting of the buckle.
The ‘Break-In Period’: Almost all new motocross boots will feel stiff for the first few rides. This period may be days or weeks, depending on how often you ride. Part of this is your feet becoming accustomed to the new boots. During this time your gear changes and braking will be hindered due to the stiffer ankle flexion until they are ‘worn in’.
Women’s Dirt Bike Boots
While most of the major manufacturers produce women’s specific boots, which are usually shaped a little differently to suit women’s smaller and thinner feet, many women find men’s boots just as comfortable.
Women’s boots are usually a little shorter and sometimes have a larger gaitor around the top of the boot to accommodate women’s calves.
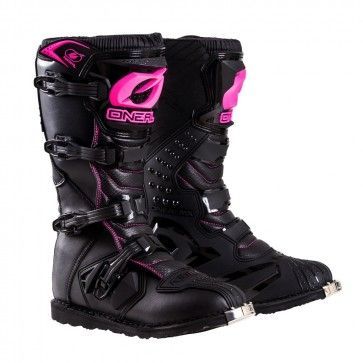
As there is a much smaller women’s range of boots to choose from, it’s advisable to check out the men’s range as well, unless you’re specifically looking for something in feminine colors to match your riding gear.
Boot Maintenance and Cleaning
- Rule Number One: Never use a pressure washer on your boots! It’s tempting, especially if has been a muddy day’s riding, but the fastest way to destroy your boots is to blast them with the pressure washer. The leather sections of your boots need to remain soft to retain any waterproofing and durability. When you blast them with high-pressure water you lift the grain and remove the leather’s natural goodness. The leather then drys out and you have reduced their lifespan.
Use a scrubbing brush and a bucket of water, then leave them to dry for a brief time only (half an hour or so) in the sun. Make sure they are completely dry before you store them to prevent mold and bacteria growth. - Leather Treatment: Regularly look after the leather with a leather treatment like ‘Renapur’, which I’ve been using for many years. Good leather treatments are easily available from shoe shops. It will keep the leather waterproof and prolong its life.
- Periodically check the buckle screws: They tend to come loose over time. Screws falling out is the main cause of buckle replacement.
- Keep an eye on the sole wear: especially at the instep where the footpegs start eating away at the sole. Some boots like Alpinestars have a replaceable sole, but it still needs to be professionally fitted. Check with the manufacturer or the distributor for details on the replacement process.
- Clip the buckles in place when not in use: It will prevent them from getting damaged if they’re in the back of your truck or lying around in your garage.
Related Posts
10 Best Boots For Enduro & Dual Sport Riding
5 Best Dirt Bike Boots Under $200
Alpinestars Tech 7 Boot Review
Wow! This is quite comprehensive to read here considering the fact that a lot of people do not know about the needs for a proper buying guide whenever it has to do with purchase of a dirt bike boots. It actually requires to know what to get, and exactly the size that would be able to deliver accordingly. This is great here and thank you so much for sharing this out here. Thumbs up
Hi Ella. It can be quite confusing to know what type of boot is best for your own needs, which is why I wrote this guide. I hope it was of some help to you.
Hello Greg, you have given so much information about these boots and I like what I have see here in this post. I am not really into dirt bike racing, but i do try it out once in a while with my friends and it’s really fun. In the club, i am the only one who doesn’t have a boot and that’s why i am looking for a good one to get. These tips of what to look out for when getting these boots would really be beneficial to anyone and thanks for sharing. Which boot would you suggest i buy?
Hi Benson. If you’re looking to buy a boot in the under $200 price range, the O’Neal Rider boot is my own personal choice and I am completely happy with them. The Alpinestars Tech 3 is also a good entry-level boot. In the mid-range, the Tech 7 is a good boot but may be more than you need if you don’t ride much.
Hope this post is of some help to you. Thanks for your thoughts.
I am so glad I am seeing this post now, it’s something I really needed. I must say a big thank you to you for sharing such an imposition information. Basically I am a bike lover and often encounter this Ankle fracture which is not always good so I think this Motocross boots is just what I need for maximum protection against this ankle fractures. Thanks once again
Hi Sheddy. Yes, good boots are important to avoid ankle injuries, which is common to motorcycling. Motocross boots offer the best protection possible. Glad this post was of some help to you.